You poured your soul into your comic, but printing errors can ruin it. Small file mistakes can become costly disasters. Let’s walk through the essential prep steps for perfect printing.
To prepare your comic for flawless printing, use a press-quality PDF with CMYK colors, 300 DPI resolution, and proper bleed and margins. You must also choose the correct color profile that matches your paper selection. These steps ensure your vibrant art translates perfectly to the page.
Getting your artwork ready for print is the final, critical step in your creative journey. Over my 37 years in the printing business, I’ve seen brilliant comics fall short because of simple technical oversights. It’s a painful thing to witness. The good news is that these problems are completely avoidable. If you understand what a printer needs, you can guarantee a result that honors your hard work. Let’s make sure your file is ready for a perfect run.
What is the best file format for comic books?
Choosing the wrong file format can cause color shifts and fuzzy lines. All your hard work on the intricate details of your comic could be lost in translation. So, let’s pinpoint the exact format that we printers prefer for crisp, accurate comic book results.
The best file format for comic book printing is a high-resolution, press-quality PDF. This format embeds fonts, maintains vector and raster data, and supports CMYK color profiles. It ensures what you see on your screen is what gets printed. It is the industry standard for good reason.
In my experience, nothing beats a properly prepared PDF. It’s a self-contained package that tells our presses exactly what to do. I remember a new creator who sent us individual high-quality JPEG files for each page. While the quality was good, it created so much extra work. We had to sequence them, check each one for consistency, and then combine them. This added time and cost to the project. A single, correctly formatted PDF file avoids all of that hassle. The ideal PDF is exported using a "press-quality" setting, often labeled as PDF/X-1a. This standard ensures all the necessary information is locked in. It flattens transparency and embeds your color profile1, which prevents unexpected changes on our end. This is how you maintain complete control over the final look of your comic book.
| File Format | Best Use Case | Why It’s Not Ideal for Final Print Files |
|---|---|---|
| PDF (Press Quality) | Final Print Submission | N/A – This is the industry standard. |
| JPEG | Web Images, Previews | Loses quality with each save (lossy), doesn’t support vector text. |
| TIFF | High-Quality Photos | Files are very large, not ideal for multi-page documents. |
| INDD/AI | Original Design Files | Requires the printer to have the same software and fonts. |
How to prep a file for printing?
Your digital comic looks perfect on the screen, but printers have specific technical needs. Ignoring requirements like bleed and color modes will lead to disappointing, amateur-looking results. Here is a clear checklist to ensure your file is technically perfect for the press.
To prep your file, first set the color mode to CMYK, not RGB. Then, ensure all images have a resolution of at least 300 DPI. Finally, add a bleed of 3mm (0.125 inches) on all outer edges and keep important content within a safe margin.
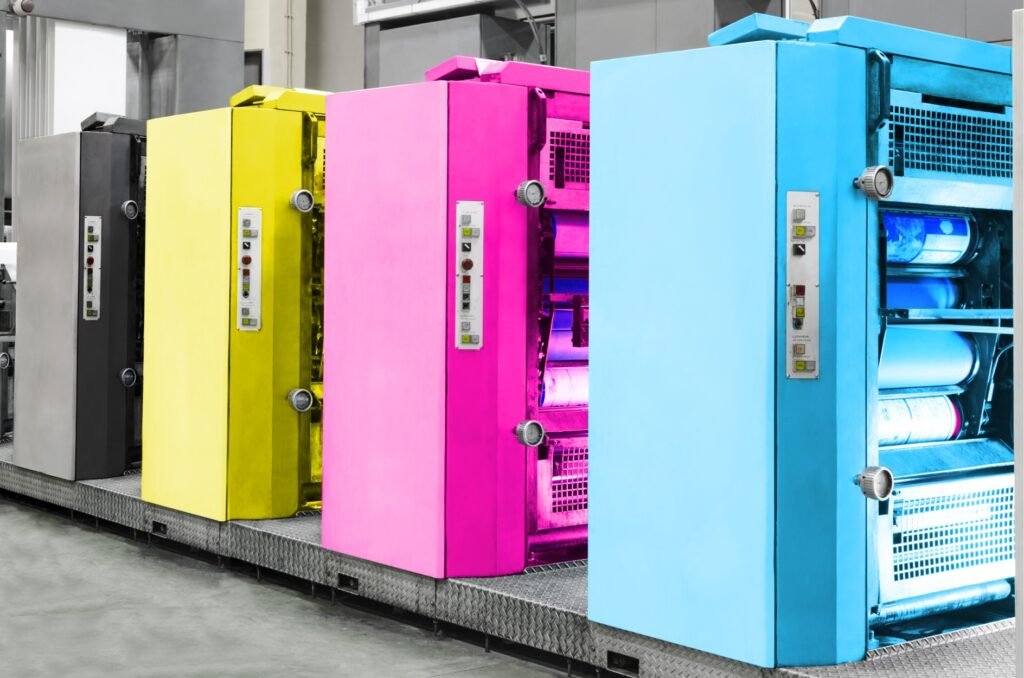
Let’s break these steps down because they are the foundation of professional printing. First is the color mode1. Your screen creates color with light (Red, Green, Blue – RGB), while a printing press uses ink (Cyan, Magenta, Yellow, Black – CMYK). Sending an RGB file for printing forces our software to convert the colors, which can cause them to look dull or shifted. You must design and export in CMYK from the start. Second is resolution2, measured in Dots Per Inch (DPI). Your art must be at least 300 DPI to look sharp and clear in print. Web images are often 72 DPI, which will look very pixelated on a printed page. Finally, you need to understand page layout for cutting. We print on large sheets and trim them down. The "bleed" is extra art that extends past the final trim line. This prevents ugly white borders if the cut is off by a tiny fraction. The "safe area" is the opposite; it’s an inner margin where you keep all critical text and art to ensure nothing gets accidentally trimmed off.
| Technical Spec | Requirement | Why It’s Important |
|---|---|---|
| Color Mode | CMYK | Matches the four-color ink process of printing presses, ensuring color accuracy. |
| Resolution | 300 DPI | Guarantees sharp, crisp images and text without any pixelation. |
| Bleed | 3mm (0.125") | Extra image area that gets trimmed off, preventing white edges on the final product. |
| Safe Margin | 3-5mm Inside Trim | Keeps important text and art from being cut off during the trimming process. |
What is the best paper for printing comic books?
The paper you choose dramatically affects the look and feel of your comic. The wrong paper stock can make your vibrant, beautiful colors look dull, or make the book feel cheap in the reader’s hands. Let’s explore the common paper options to find the perfect match for your art style.
The best paper depends on your project’s desired finish. Gloss coated paper makes colors pop and is great for vibrant, modern comics. Uncoated paper offers a classic, matte feel, which is ideal for indie or vintage styles. This choice impacts color saturation, readability, and how the book feels.
The choice between coated1 and uncoated paper21 is the biggest decision. Coated paper has a sealant that makes the surface smooth, either with a high gloss or a softer silk/satin finish. Ink sits on top of this coating, so colors look incredibly bright and saturated. This is perfect for superhero or sci-fi comics with explosive colors. The downside can be a bit of glare. Uncoated paper2, on the other hand, is porous. It absorbs the ink, which gives the colors a more muted, natural, and warmer look. It’s fantastic for stories with a classic feel, noir comics, or alternative art styles. It also has no glare, making it very easy to read. You also need to consider paper weight, measured in GSM. Interior pages are typically lighter (e.g., 100-130 gsm), while the cover needs to be a heavier, more durable stock (e.g., 250-300 gsm). Crucially, your paper choice must connect to your file prep. Coated and uncoated papers need different CMYK color profiles to look right. Using the wrong one will make your art look muddy. Always tell your printer your paper choice so they can advise on the correct profile.
| Paper Type | Look & Feel | Best For | Color Profile Note |
|---|---|---|---|
| Gloss Coated | Shiny, vibrant, smooth | Mainstream, action, sci-fi comics | Needs a coated profile (e.g., GRACoL) |
| Silk/Satin Coated | Smooth, low-glare, rich colors | Premium, modern comics | Needs a coated profile (e.g., GRACoL) |
| Uncoated | Matte, natural, classic | Indie, noir, vintage, text-heavy comics | Needs an uncoated profile (e.g., SWOP) |
Conclusion
Preparing your PDF with the right colors and margins, and then choosing the right paper for your art, are the keys to turning your digital comic into a professional, printed masterpiece.